Uploading content
There are two ways to upload content into the repository through the Create module:
- using the Create web interface
- using the Linux shell client
|
|
| Upload content using the web interface |
Using the shell client |
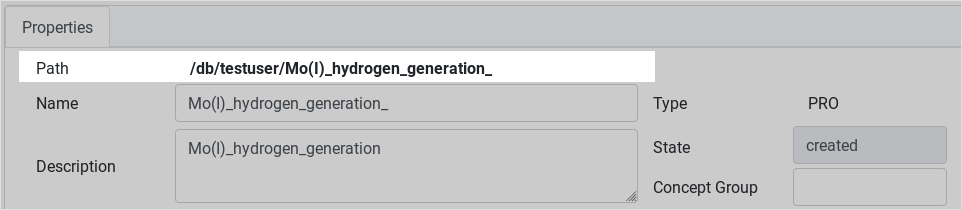
Paths
Any element within the Create module has an associated path to define its location in our filesystem structure.
You can check it by looking at the top of the Item Details form:
Paths work the same way as standard OS folder/file paths, so you can navigate them up/down and inside/out.
All paths start with a fixed string that contains the Username:
/db/username. This is defined as the root of your path, so you can
create the projects you need from here.
WARNING
Calculations are not allowed to be uploaded in the root path directly, they must be held inside a project. |
 |
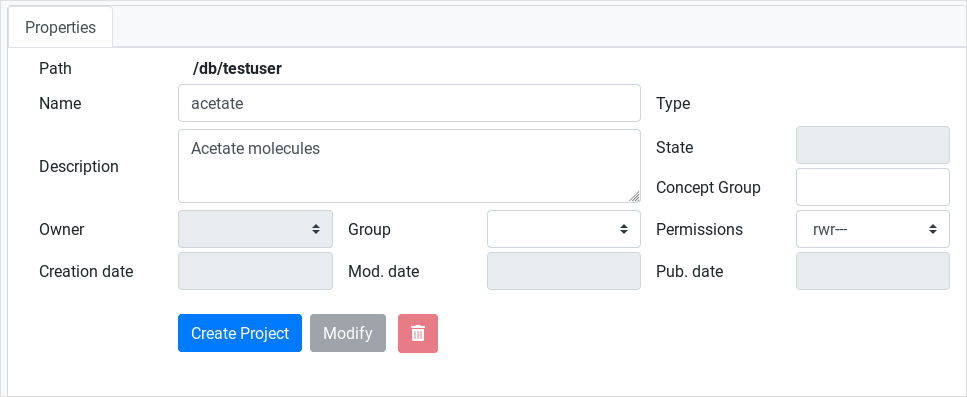
Creating a project
Projects created in the root path are be called root projects. To
create any, you must first clear the current path by clicking the
Refresh button (find it on top on the Navigation Frame).
With the current path cleared and set it to root path, you can start
filling in the project details on the Item Details frame. Project name
and description fields are mandatory.
TIP
No symbol characters can be used in the project name (as they are not allowed either in directory names inside current OS).
When you are ready editing, then you must click on Create project
button. Navigation Frame will refresh the workspace and your project
will appear in the project hierarchy.
To create subprojects inside an existing project, you need to click on
that project and replace its name and description in the Item Details
frame. Then you click Create project and a new one will be generated
inside the selected parent project. |

 |
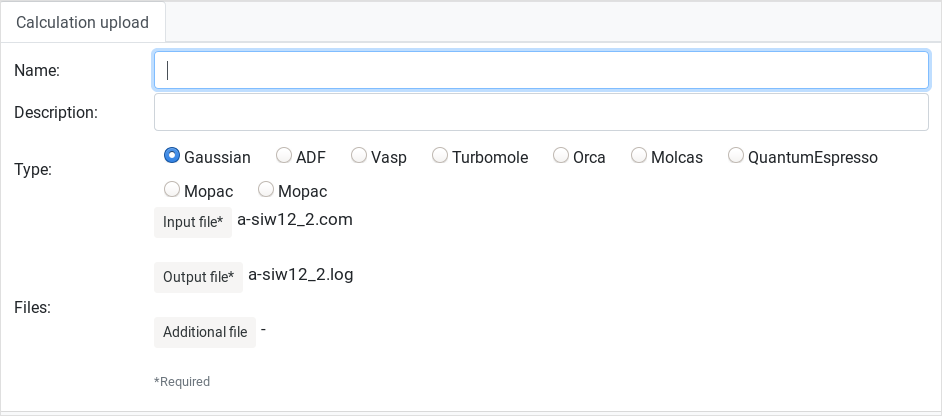
Calculation upload
To upload a calculation into a project you have to first click on that
project. Then the Create web interface upper right panel will display a
form where you can fill in the calculation name, its description etc.
WARNING
The Name field must not contain blank spaces or special characters like
\*@[]. otherwise it will be normalized to an underscore symbol.
INFO
Some specific calculations will require to upload the files in a
certain order and/or append specific files in order to work properly,
please refer the shell automated scripts section for an extended
desciption.
Then you have to select the specific format for file upload, which vary depending on the calculation type. |
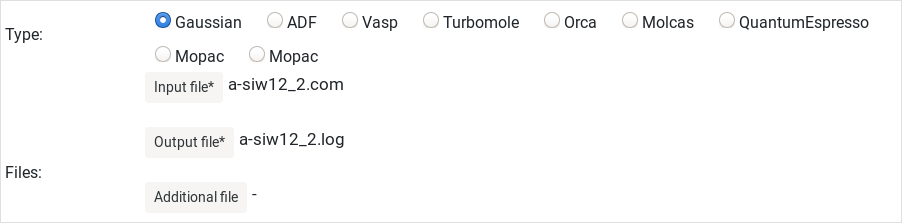 |
Additional files can be attached; this is the
case of the Additional file button. Such special option will display a
form from where you can upload multiple files, add images, PDF files,
and more.
Here is an example of this kind of form.
TIP
If you upload multiple files with the same name, the Create module will
rename them using a numeric code, for example if you attach two
geometry.txt files, the second one will be renamed as geometry_2.txt.
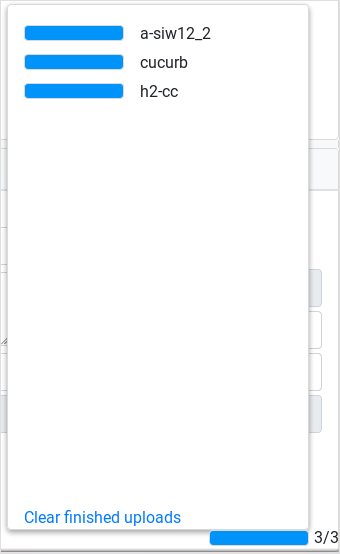
Now you can click on the Load Calculation button to start uploading your calculation.
A progress bar will appear in the lowest bottom right panel. Bear in mind that conveting and digesting big files can take while.
The progress bar will also display errors that migh occur during file upload.
You can click on the warning icon to display a longer explanation about
the upload failure (keep it and it send it to us, please).
When all of your calculations are uploaded, you can click the Refresh
button on the Navigation tab to refresh its content. Then, you can
navigate throughout your newly uploaded data. |

 |
ioChem-BD know More
|
|
Create module walktrough know More
|
How to cite know More
|
Publish data to Browse know More
|
|
|
|